Apple iPhone Photoshop tutorial
Make a realistic Apple iPhone illustration in Photoshop. Quick, intermediate level photoshop tutorial.
Download psd file, iPhone isolated against a white background.
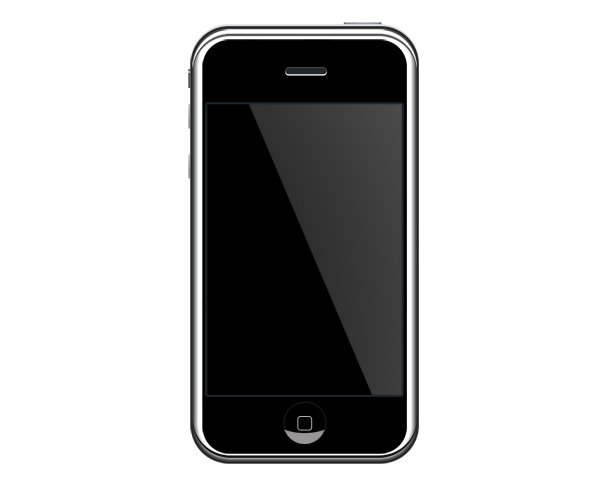
Resolution: 610×488 px
Size: 642 KB
Format: PSD
Keywords: communication devices, photoshop tutorials, iphone psd file, a modern smartphone isolated against a white background
Author: PSD Graphics
Download Photoshop file:
Tutorial:
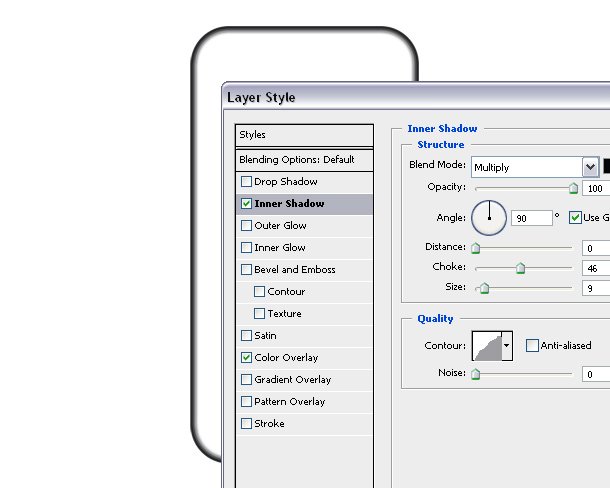
1. Open a new document (1280x1024px) and make a rounded rectangle with 20px radius. Add the Inner Shadow like in my example.
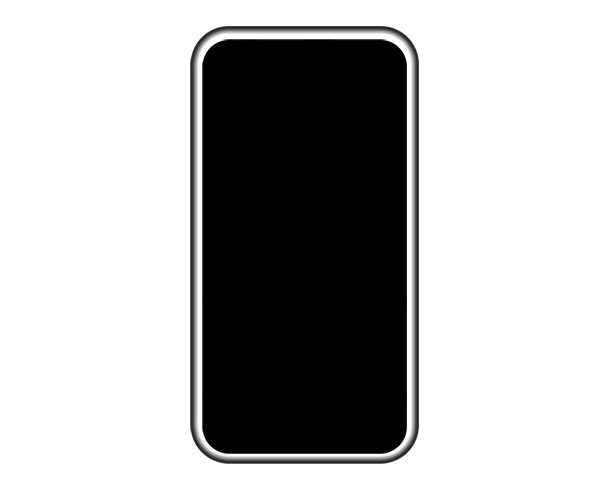
2. Duplicate the body layer and make it a little smaller, and fill it with black color.
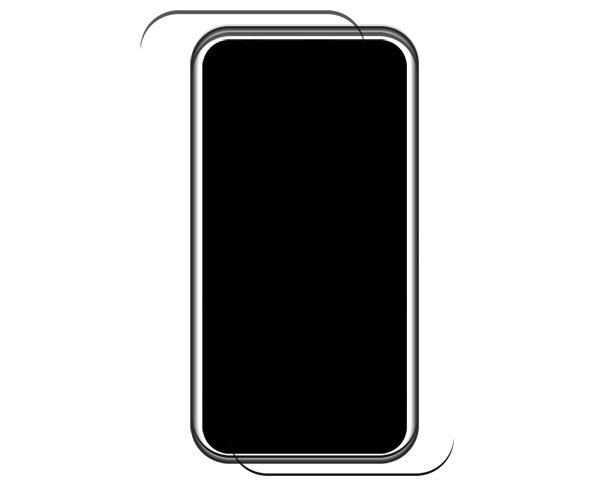
3. To make the iPhone metal frame more shiny, add two more details at the top and bottom.
To do it duplicate the main body layer again, make a color selection (CTRL+left click on the layer in layers window),
move the selection a few pixels down and hit delete button. Duplicate the layer and rotate it vertically to make the bottom one.
4. Make the home button. Create a black circle and add a gray 2px outline.
To make the glossy effect at bottom, repeat the 4th step (duplicate the circle layer, make a selection and cut).
At the end make a 4-5px radius rectangle and add 2 px gray outline.
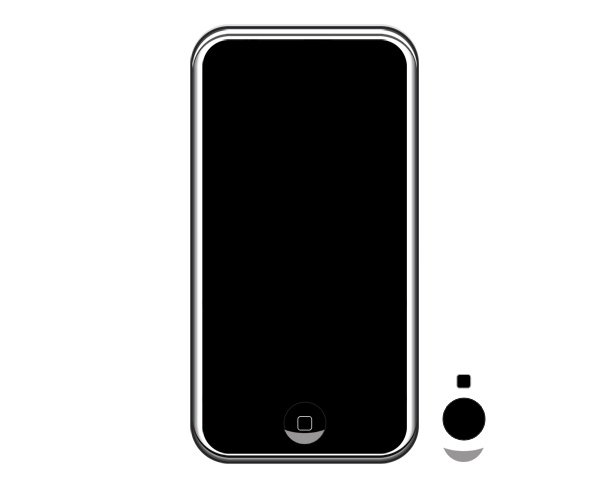
5. Add the side buttons. Make them all with 1px rounded rectangle and add a dark gray to light gray gradient.
Put these layers under all existing layers in the layers palette.
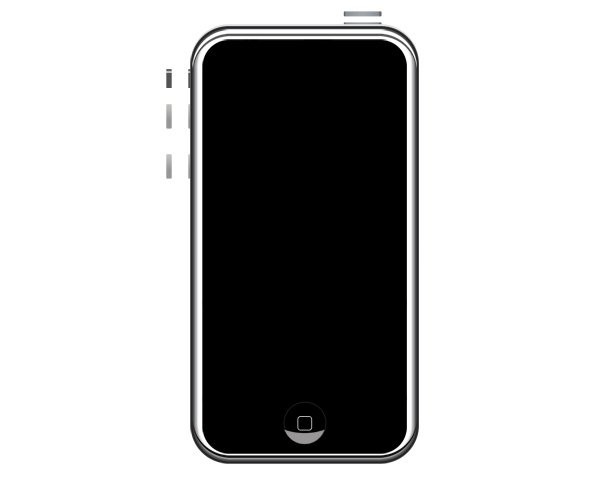
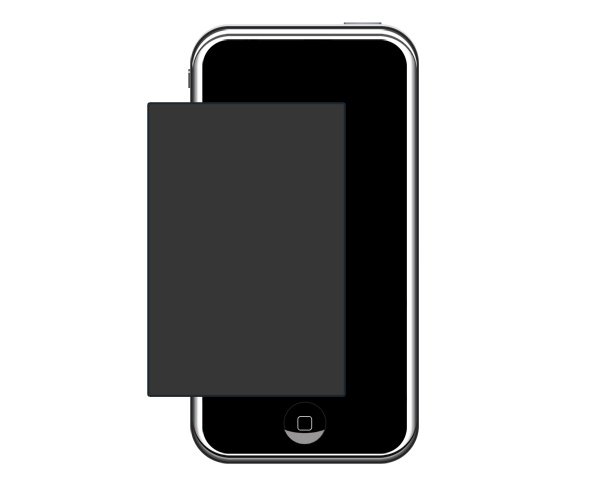
6. Add the screen. Make a dark gray rectangle shape and add 2px outline with a bit lighter gray color.
7. Make the receiver. Create two identical rounded rectangles, make the bottom one in white color, and the top one in gray and outline in a darker gray color.
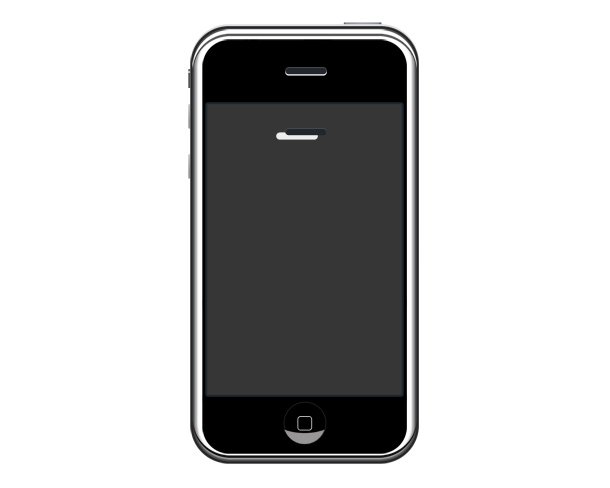
8. Add a glossy effect on the screen with gradient tool. We are done.


